“Transfer Your Design Quickly and Easily with Quick Dry Sublimation Paper!” – SUBLIMATIONTRANSFERPAPER – Tacky Vinyl Sublimation Paper Manufacturer, Vinyl Sublimation Paper Sheet Supplier, Made in China
Introduction
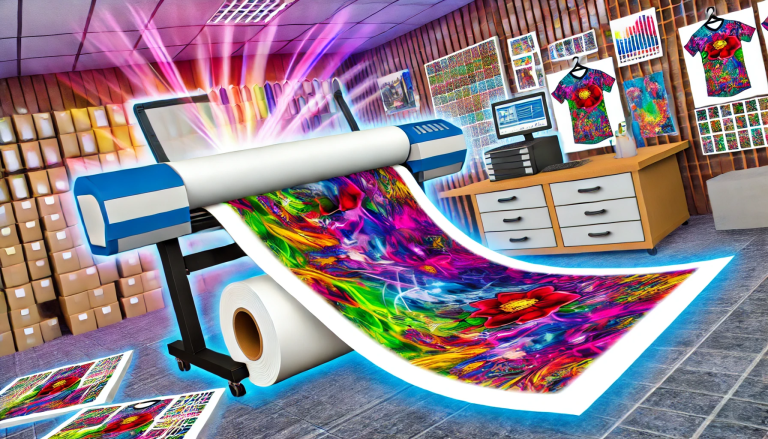
Transferring Quick Dry Sublimation Paper to a shirt is a great way to create a unique and personalized look. It is a relatively simple process that requires a few basic supplies and a few steps. With the right materials and a bit of patience, you can create a one-of-a-kind shirt that will be sure to turn heads. In this guide, we will walk you through transferring Quick Dry Sublimation Paper to a shirt, from start to finish.
How to Achieve Professional-Looking Results When Transferring Quick Dry Sublimation Paper to a Shirt
Transferring quick dry sublimation paper to a shirt can be a daunting task, but with the right tools and techniques, you can achieve professional-looking results. Here are some tips to help you get started:
- Prepare the shirt. Before you begin, make sure the shirt is clean and free of any dirt or debris. If necessary, pre-treat the shirt with a heat press spray to ensure the transfer adheres properly.
- Prepare the paper. Cut the paper to the desired size and shape, then place it on the shirt. Make sure the paper is centered and straight.
- Heat press the paper. Set the heat press to the recommended temperature and time for the paper you are using. Place the paper on the shirt and press firmly for the recommended time.
- Peel the paper. Once the time is up, carefully peel the paper away from the shirt. If the paper does not come off easily, press it again for a few more seconds.
- Allow the shirt to cool. Once the paper is removed, allow the shirt to cool before wearing or washing.
By following these steps, you can achieve professional-looking results when transferring quick dry sublimation paper to a shirt. With a little practice, you’ll be able to master the technique and create beautiful designs.
Tips for Ensuring a Perfect Transfer of Quick Dry Sublimation Paper to a Shirt
1. Pre-treat the shirt: Before transferring the sublimation paper to the shirt, it is important to pre-treat the shirt with a heat press. This will help to ensure that the paper adheres properly to the fabric.
- Use the right temperature and pressure: When transferring the paper to the shirt, it is important to use the right temperature and pressure. The temperature should be set to 400 degrees Fahrenheit and the pressure should be set to medium.
- Use a Teflon sheet: To ensure that the paper does not stick to the heat press, it is important to use a Teflon sheet. This will help to prevent the paper from sticking to the heat press and ensure a perfect transfer.
- Use a heat press: To ensure a perfect transfer, it is important to use a heat press. This will help to ensure that the paper is transferred evenly and without any wrinkles or creases.
- Use a jig: To ensure that the paper is transferred in the right position, it is important to use a jig. This will help to ensure that the paper is transferred in the right position and that the design is centered on the shirt.
- Use a timer: To ensure that the paper is transferred for the right amount of time, it is important to use a timer. This will help to ensure that the paper is transferred for the right amount of time and that the design is not over-exposed.
- Allow the shirt to cool: After transferring the paper to the shirt, it is important to allow the shirt to cool. This will help to ensure that the paper adheres properly to the fabric and that the design is not damaged. Step-by-Step Guide to Transferring Quick Dry Sublimation Paper to a ShirtTransferring Quick Dry Sublimation Paper to a Shirt is a relatively simple process that can be completed in a few easy steps. This guide will provide a step-by-step overview of the process.
Step 1: Prepare the Shirt
Before transferring the paper to the shirt, it is important to prepare the shirt for the process. Begin by pre-heating the shirt in a heat press at 375°F for 10-15 seconds. This will help the shirt to absorb the ink from the paper more easily.
Step 2: Prepare the Paper
Next, prepare the Quick Dry Sublimation Paper for the transfer. Place the paper in the heat press and pre-heat it for 10-15 seconds. This will help the paper to adhere to the shirt more easily.
Step 3: Place the Paper on the Shirt
Once the paper and shirt have been pre-heated, place the paper on the shirt. Make sure that the paper is centered on the shirt and that there are no wrinkles or creases in the paper.
Step 4: Transfer the Paper
Once the paper is in place, it is time to transfer the paper to the shirt. Place the shirt and paper in the heat press and press down firmly for 10-15 seconds. This will help to ensure that the paper is securely transferred to the shirt.
Step 5: Remove the Paper
Once the paper has been transferred to the shirt, it is time to remove the paper. Carefully peel the paper away from the shirt. If any of the paper remains on the shirt, use a damp cloth to gently remove it.
Step 6: Allow the Shirt to Cool
Once the paper has been removed, allow the shirt to cool for 10-15 minutes. This will help to ensure that the ink from the paper has been securely transferred to the shirt.
By following these steps, you can easily transfer Quick Dry Sublimation Paper to a shirt. With a few simple steps, you can create a unique and personalized shirt that is sure to be a hit.
Conclusion
Transferring Quick Dry Sublimation Paper to a shirt is a simple process that can be done with minimal effort. With the right tools and materials, you can easily create a unique and personalized shirt with your design. The process is relatively quick and easy, and the results are sure to impress.