“Transfer Your Designs with Ease – Sublimation Paper Roll!” – SUBLIMATIONTRANSFERPAPER – Quick Dry Sublimation Paper Manufacturer, A3 Sublimation Heat Paper Wholesale, Made in China
Introduction
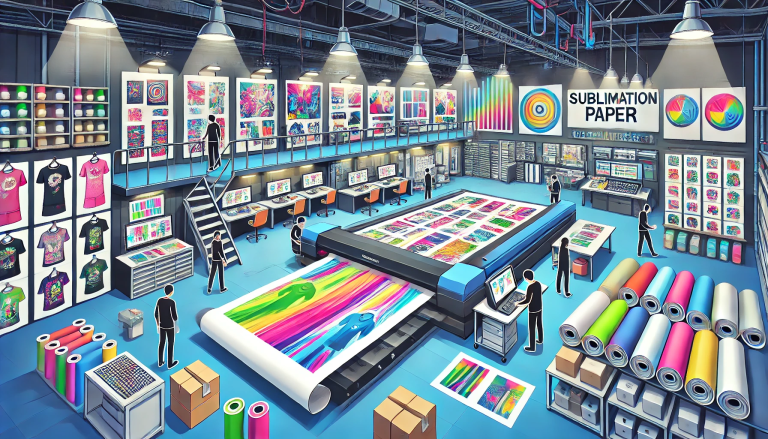
Sublimation paper roll is a great way to transfer images onto a variety of materials. It is a great way to create custom designs and artwork for a variety of projects. In this guide, we will discuss the basics of how to transfer sublimation paper roll onto a variety of materials. We will discuss the materials needed, the process of transferring the image, and the best practices for achieving the best results. We will also discuss the different types of sublimation paper rolls and the best ways to store them. By the end of this guide, you will have a better understanding of how to transfer sublimation paper rolls and be able to create beautiful designs and artwork.
Tips for Ensuring a Successful Sublimation Paper Roll Transfer
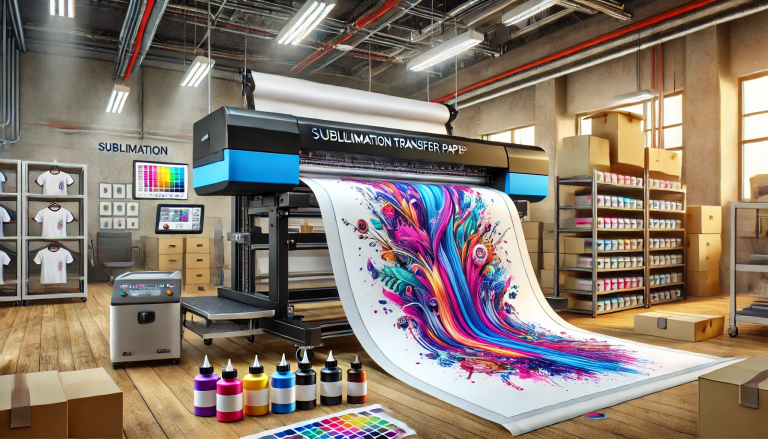
1. Prepare the Sublimation Paper: Before beginning the transfer process, it is important to ensure that the sublimation paper is properly prepared. This includes ensuring that the paper is free of dust and debris and that it is properly aligned in the printer.
- Set the Printer Settings: It is important to set the printer settings correctly to ensure a successful transfer. This includes setting the correct resolution, color mode, and paper type.
- Print the Image: Once the printer settings have been set, the image can be printed onto the sublimation paper. It is important to ensure that the image is printed correctly and that there are no smudges or imperfections.
- Heat the Transfer Paper: Once the image has been printed, the transfer paper must be heated to activate the sublimation process. This can be done using a heat press or an iron. It is important to ensure that the temperature is set correctly and that the paper is heated evenly.
- Transfer the Image: Once the transfer paper has been heated, the image can be transferred onto the desired surface. It is important to ensure that the image is transferred correctly and that there are no air bubbles or wrinkles.
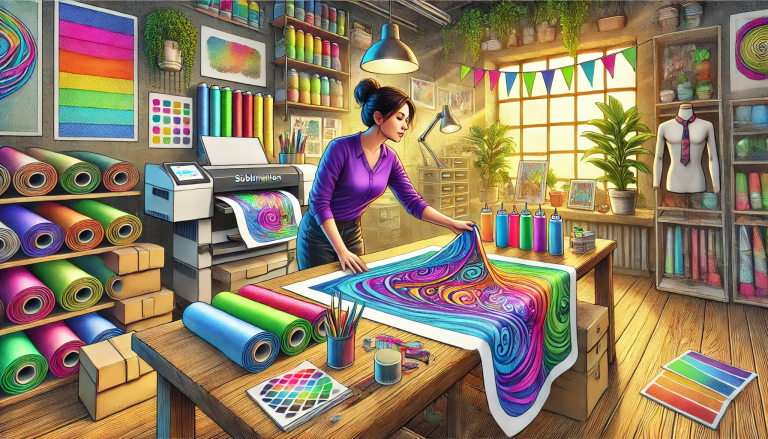
- Allow the Image to Cool: After the image has been transferred, it is important to allow it to cool before handling it. This will ensure that the image is properly set and that it will last for a long time. How to Choose the Right Sublimation Paper Roll for Your ProjectWhen it comes to sublimation printing, the right sublimation paper roll is essential for achieving the desired results. Sublimation paper rolls are available in a variety of sizes, weights, and coatings, so it is important to choose the right one for your project. Here are some tips to help you select the right sublimation paper roll for your project.
First, consider the size of the project. Sublimation paper rolls come in a variety of sizes, so you need to make sure you choose the right size for your project. If you are printing on a large surface, you will need a larger roll. If you are printing on a smaller surface, you will need a smaller roll.
Second, consider the weight of the paper. Sublimation paper rolls come in a variety of weights, ranging from light to heavy. The heavier the paper, the more durable it will be. If you are printing on a large surface, you will need heavier paper. If you are printing on a smaller surface, you will need lighter paper.
Third, consider the coating of the paper. Sublimation paper rolls come in a variety of coatings, including glossy, matte, and textured. The coating you choose will depend on the type of project you are working on. Glossy paper is best for projects that require vibrant colors, while matte paper is best for projects that require subtle colors. Textured paper is best for projects that require a unique look.
Finally, consider the cost of the paper. Sublimation paper rolls come in a variety of prices, so you need to make sure you choose the right one for your budget. If you are working on a large project, you may need to invest in a more expensive paper. If you are working on a smaller project, you may be able to get away with a cheaper paper.
By following these tips, you can ensure that you choose the right sublimation paper roll for your project. With the right paper, you can achieve the desired results and create beautiful prints.
Step-by-Step Guide to Transferring Sublimation Paper Roll
1. Gather the necessary supplies. You will need a sublimation paper roll, a cutting mat, a ruler, and a sharp blade.
- Place the cutting mat on a flat surface.
- Unroll the sublimation paper roll onto the cutting mat.
- Measure the desired length of the paper roll with the ruler.
- Cut the paper roll to the desired length with the sharp blade.
- Carefully roll the cut paper onto a new roll.
- Secure the new roll with tape or a rubber band.
- Label the new roll with the date and length of the paper.
- Store the new roll in a safe place until ready to use.
- Repeat the process as needed. Conclusion Transferring sublimation paper roll is a simple process that can be done with minimal effort. With the right tools and materials, you can easily transfer your designs onto a variety of surfaces. By following the steps outlined in this article, you can ensure that your transfer is successful and that your design looks great. With a little practice, you can become an expert at transferring sublimation paper rolls.