“Iron it Out – Get Professional Results with A3 Sublimation Heat Paper!” – SUBLIMATIONTRANSFERPAPER – Industrial Sublimation Paper Supplier, A3+ Inkjet Sublimation Paper Wholesale, Made in China
Introduction
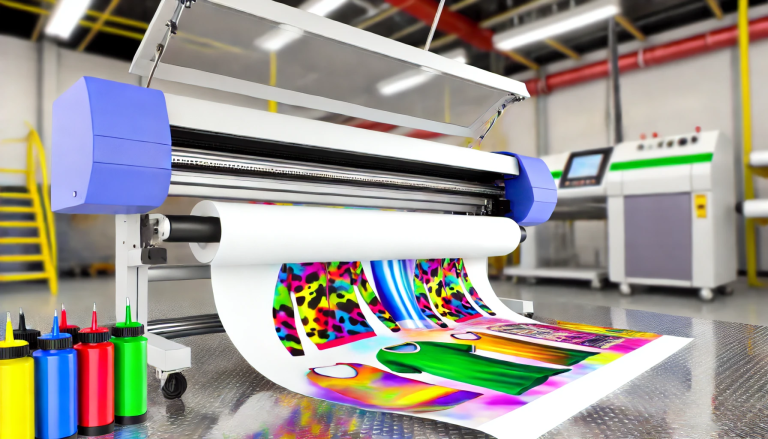
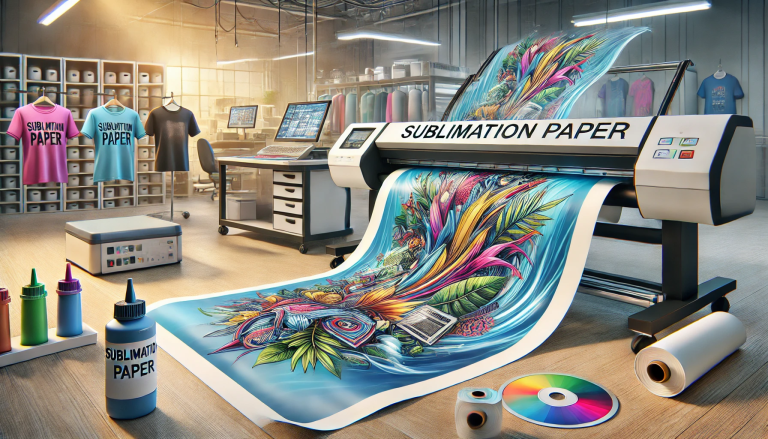
Sublimation heat transfer paper is a great way to add a unique and personal touch to any project. Whether you are creating custom t-shirts, mugs, or other items, sublimation heat transfer paper can help you create a professional-looking product. In this guide, we will discuss how to use A3 sublimation heat paper with an iron. We will cover the materials needed, the steps involved, and tips for getting the best results. With the right tools and a bit of practice, you can create beautiful and unique items with sublimation heat transfer paper.
Tips and Tricks for Getting the Most Out of A3 Sublimation Heat Paper and an Iron
Using A3 sublimation heat paper and an iron can be a great way to create unique and personalized items. Here are some tips and tricks to help you get the most out of your materials:
- Make sure to use the correct temperature setting on your iron. Different types of fabric require different temperatures, so be sure to check the instructions on the package of your sublimation paper to determine the correct setting.
- Preheat the fabric before applying the paper. This will help ensure that the paper adheres properly and that the colors are vibrant.
- Use a pressing cloth between the iron and the paper. This will help protect the paper from damage and will also help to ensure that the colors are transferred properly.
- Use light pressure when pressing the iron onto the paper. Too much pressure can cause the paper to tear or the colors to be distorted.
- Allow the paper to cool completely before peeling it off. This will help ensure that the colors are transferred properly and that the paper does not tear.
By following these tips and tricks, you can get the most out of your A3 sublimation heat paper and iron. With a little practice, you can create beautiful and unique items that will last for years to come.
How to Achieve Professional Results with A3 Sublimation Heat Paper and an Iron
Achieving professional results with A3 sublimation heat paper and an iron is a relatively simple process. With the right materials and a few simple steps, you can create beautiful, vibrant prints that will last for years.
First, you will need to gather the necessary materials. You will need an A3 sublimation heat paper, an iron, and a clean, flat surface. You will also need a protective sheet, such as parchment paper, to place between the iron and the paper.
Once you have all of your materials, you can begin the process. Start by preheating the iron to the recommended temperature for the paper. Place the paper on a flat surface and place the protective sheet on top of it.
Next, press the iron onto the paper and hold it in place for the recommended amount of time. Make sure to apply even pressure and move the iron in a circular motion to ensure that the heat is evenly distributed.
Once the recommended time has elapsed, remove the iron and allow the paper to cool. Once it has cooled, you can remove the protective sheet and admire your work.
With a few simple steps and the right materials, you can achieve professional results with A3 sublimation heat paper and an iron. With a little practice, you can create beautiful, vibrant prints that will last for years.
Step-by-Step Guide to Using A3 Sublimation Heat Paper with an Iron
Using an iron to transfer images onto fabric is a great way to create unique and personalized items. With A3 sublimation heat paper, you can easily transfer images onto fabric with iron in just a few simple steps.
Step 1: Prepare the Fabric
Before you begin, make sure the fabric you are using is clean and free of any dirt or debris. Iron the fabric to remove any wrinkles and ensure it is completely flat.
Step 2: Print the Image
Print the image you want to transfer onto the A3 sublimation heat paper. Make sure the image is printed in reverse so that it will appear correctly when transferred onto the fabric.
Step 3: Place the Image on the Fabric
Place the printed image onto the fabric, making sure it is centered and straight.
Step 4: Cover the Image
Cover the image with a piece of parchment paper or a Teflon sheet. This will help protect the image from the heat of the iron.
Step 5: Iron the Image
Set your iron to the highest heat setting and press firmly on the parchment paper or Teflon sheet. Move the iron in a circular motion for about 30 seconds.
Step 6: Peel off the Paper
Once the image has been transferred, carefully peel off the parchment paper or Teflon sheet.
Step 7: Allow the Image to Cool
Allow the image to cool before handling it.
You have now successfully transferred an image onto fabric using an iron and A3 sublimation heat paper. Enjoy your unique and personalized item!
Conclusion
Using an iron to transfer images onto A3 sublimation heat paper is a great way to create unique and personalized items. It is a relatively simple process that requires minimal supplies and can be done in the comfort of your own home. With a few simple steps, you can create beautiful and unique items that will last for years to come.