“Create Lasting Memories with 24-inch Sublimation Transfer Paper on Mugs!” – SUBLIMATIONTRANSFERPAPER – Fast Dry Sublimation Transfer Paper Manufacturer, A3 Sublimation Transfer Paper Supplier, Made in China
Introduction
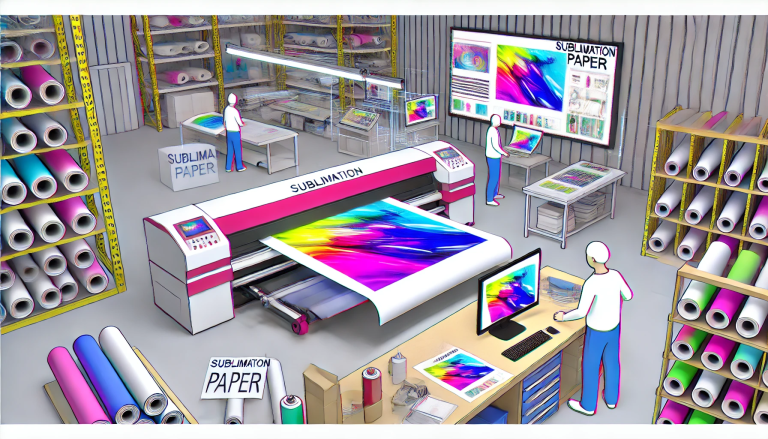
Sublimation transfer paper is a great way to add a unique and personalized touch to mugs. With the right paper and a few simple steps, you can easily create a mug with a custom design. In this guide, we will walk you through the process of using 24-inch sublimation transfer paper on mugs. We will cover the materials you need, the steps to follow, and tips for getting the best results. With this guide, you can create beautiful mugs with your custom designs.
How to Choose the Right 24-inch Sublimation Transfer Paper for Your Mug Design
When creating beautiful and lasting designs on mugs, sublimation transfer paper is an essential tool. Choosing the right 24-inch sublimation transfer paper for your mug design is an important decision that can make or break the success of your project. Here are some tips to help you make the right choice.
First, consider the type of mug you are using. Different types of mugs require different types of sublimation transfer paper. For example, if you are using a ceramic mug, you will need paper that is specifically designed for ceramic mugs. If you are using a metal mug, you will need paper that is designed for metal mugs.
Second, consider the size of your mug design. If your design is larger than 24 inches, you will need to purchase a larger size of sublimation transfer paper. If your design is smaller than 24 inches, you will need to purchase a smaller size of paper.
Third, consider the type of ink you are using. Different types of ink require different types of sublimation transfer paper. For example, if you are using dye-sublimation ink, you will need a paper that is designed explicitly for dye-sublimation ink. If you are using pigment-based ink, you will need paper that is designed for pigment-based ink.
Finally, consider the type of printer you are using. Different types of printers require different types of sublimation transfer paper. For example, if you are using an inkjet printer, you will need paper that is specifically designed for inkjet printers. If you are using a laser printer, you will need paper that is designed for laser printers.
By following these tips, you can ensure that you choose the right 24-inch sublimation transfer paper for your mug design. With the right paper, you can create beautiful and lasting designs on mugs that will last for years to come.
Tips for Achieving the Best Results When Using 24-inch Sublimation Transfer Paper on Mugs
1. Preheat the mug: Before applying the sublimation transfer paper, preheat the mug for a few minutes to ensure that the transfer paper adheres properly.
- Use a heat press: For the best results, use a heat press to apply the transfer paper to the mug. This will ensure that the paper is applied evenly and securely.
- Use the correct temperature and time settings: Make sure to use the correct temperature and time settings for the type of mug you are using. Different mugs require different settings.
- Use a protective sheet: Place a protective sheet between the mug and the heat press to prevent the transfer paper from sticking to the mug.
- Peel off the transfer paper: After the transfer paper has been applied, carefully peel off the transfer paper from the mug.
- Clean the mug: After peeling off the transfer paper, clean the mug with a damp cloth to remove any residue.
- Allow the mug to cool: Allow the mug to cool before using it. This will ensure that the design is properly set. Step-by-Step Guide to Using 24-inch Sublimation Transfer Paper on MugsIntroduction
Sublimation transfer paper is a great way to add a unique and personalized touch to mugs. This guide will provide step-by-step instructions on how to use 24-inch sublimation transfer paper to create beautiful and lasting designs on mugs.
Step 1: Prepare the Mug
Before you begin, make sure the mug is clean and free of any dirt or debris. If necessary, use mild soap and water to clean the mug.
Step 2: Prepare the Design
Create your design using a graphics program such as Adobe Photoshop or Illustrator. Make sure the design is sized correctly for the mug.
Step 3: Print the Design
Print the design onto the sublimation transfer paper using a sublimation printer. Make sure the design is printed in reverse so that it will appear correctly on the mug.
Step 4: Heat Press the Design
Place the mug on the heat press and position the design on the mug. Set the temperature and time according to the instructions on the transfer paper. Once the time is up, remove the mug from the heat press.
Step 5: Peel off the Transfer Paper
Carefully peel off the transfer paper from the mug. If necessary, use a heat gun to help loosen the paper.
Step 6: Enjoy Your Mug
Your mug is now ready to be enjoyed!
Conclusion
Using 24-inch sublimation transfer paper is a great way to add a unique and personalized touch to mugs. With this guide, you can easily create beautiful and lasting designs on mugs.
Conclusion
Using 24-inch sublimation transfer paper on mugs is a great way to create unique and personalized mugs. It is a relatively simple process that requires minimal supplies and can be done in the comfort of your own home. With the right tools and a bit of practice, you can create beautiful and unique mugs that will be sure to impress your friends and family.